This is the fifth post in a multi-post tutorial on how to get started SUP river surfing. Checkout the other posts as well:
- Part 1: The Gear
- Part 2: Scoping out the wave
- Part 3: Plotting a course onto the wave
- Part 4: Padding stances to catch the wave
- Part 5: Paddle strokes to catch the wave
- Part 6: Stances and footwork for surfing the wave
- Part 7: Paddle strokes and braces for surfing the wave
There are two strokes you need to know in order to catch river waves: the bow draw and the forward stroke. While these are two different strokes, we will actually combine them into a single, smooth paddle stroke. The combination of a bow draw followed by a forward stroke will allow you to keep your board tracking in a straight line while making powerful strokes without having to switch the side of the board you’re paddling on.
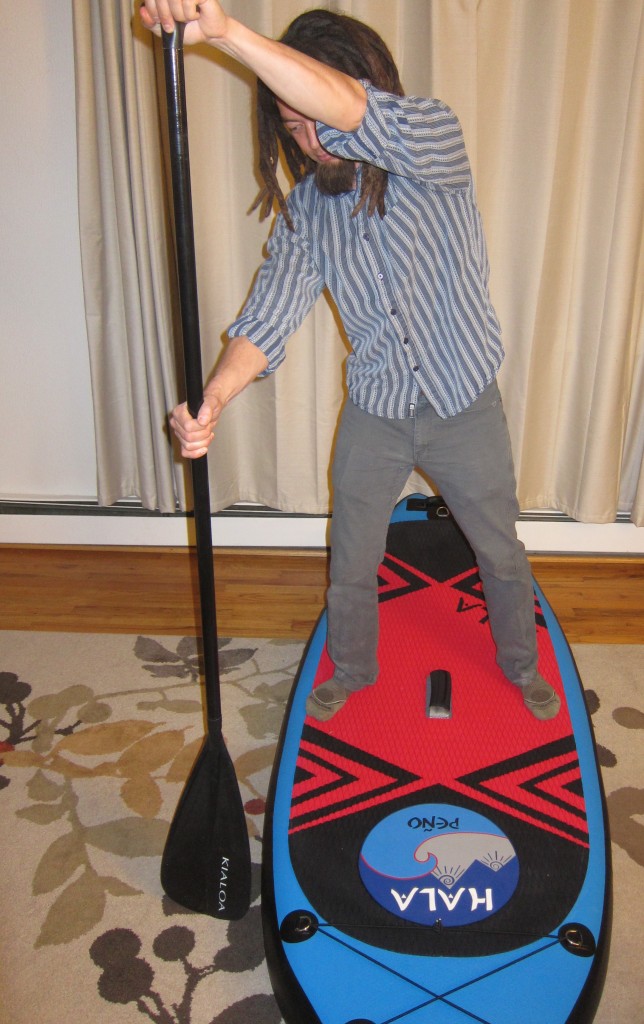
First off, let’s review the forward stroke. This is your standard SUP stroke. With your knees slightly bent, place the blade of the paddle in the water in front of you and pull the paddle towards you until the blade is about parallel with your feet; remove the paddle from the water and repeat. The one thing to keep in mind with this stroke is to try to keep your paddle shaft vertical.
Keeping your paddle vertical will help your board track straight without turning. If your paddle is at an angle, your board will turn with each paddle stroke.
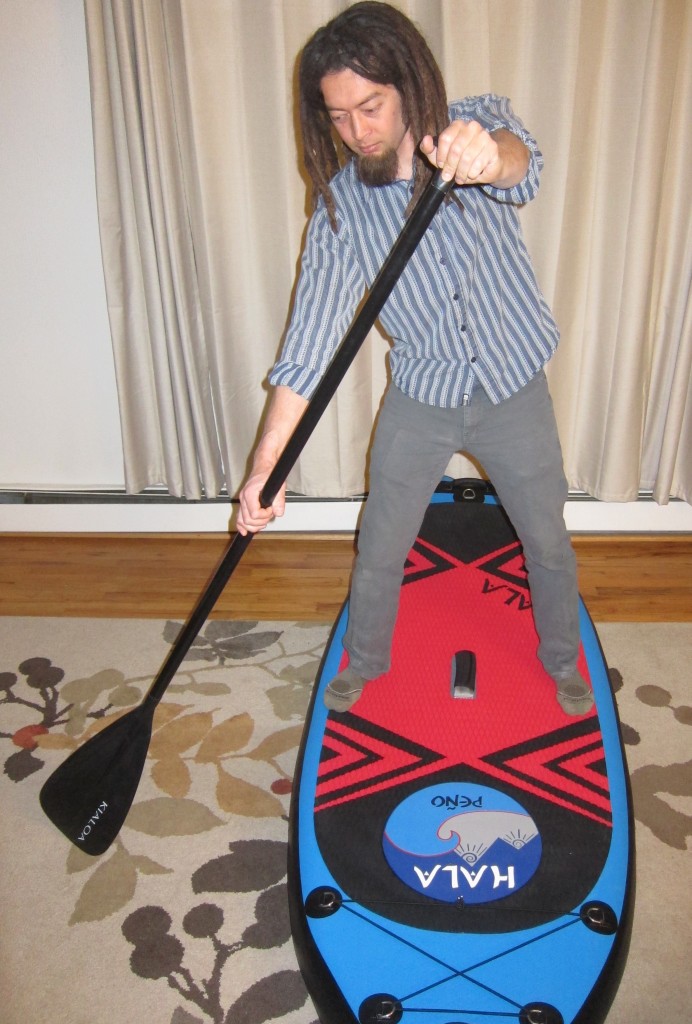
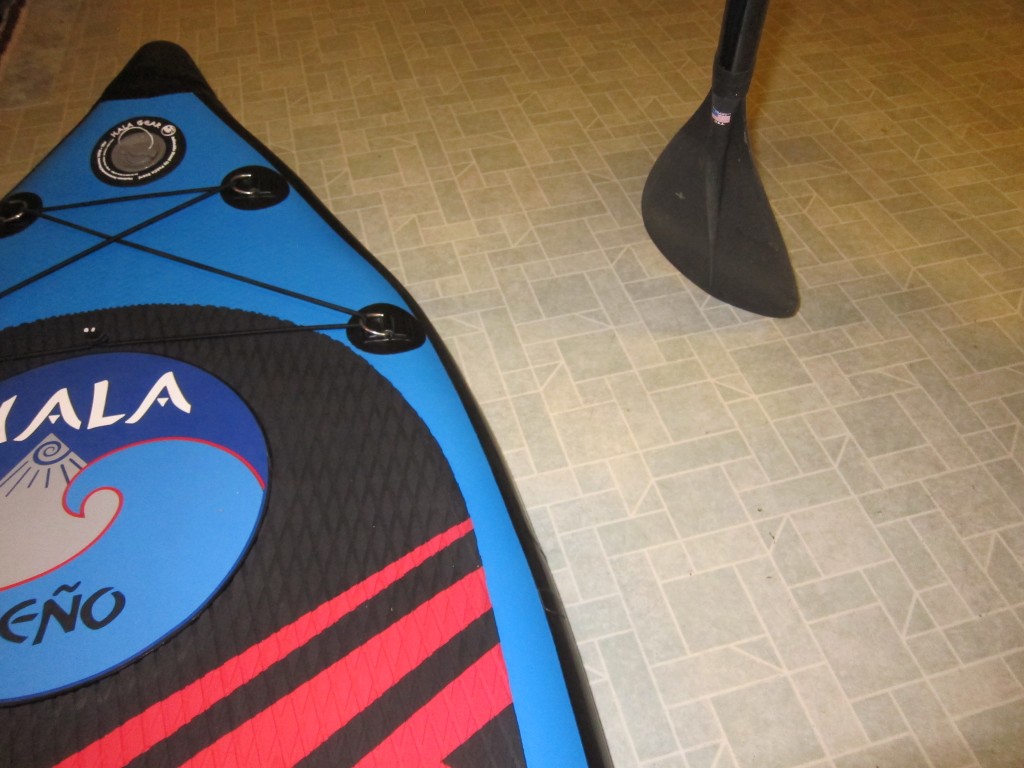
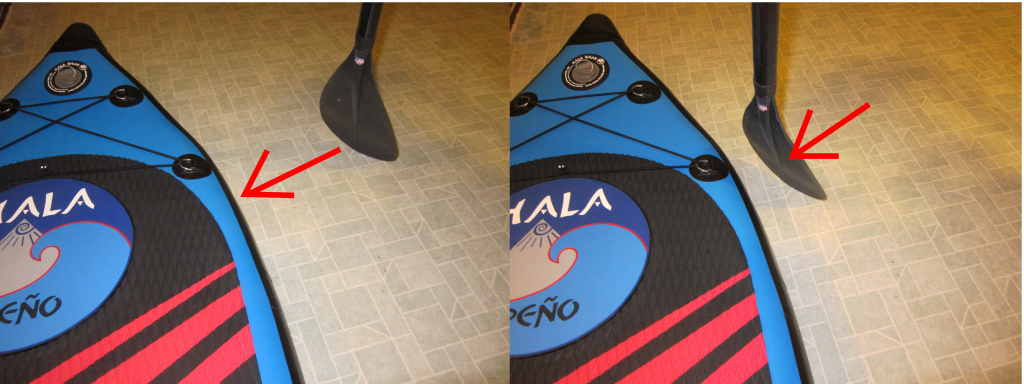
angled paddle shaft, this will cause your board to turn
The bow draw is a trickier stroke. Start as you would for a forward stroke with your knees slightly bent, but this time place your paddle in the water at a 45 degree angle with the face of the blade toward your board. Instead of putting your paddle in the water next to your board, set it in the water 12+ inches away from it.
Next, pull your paddle towards the bow (the nose) of your board. This will cause the board to turn towards your paddle. Once the shaft of your paddle reaches the rail of your board, remove it from the water and repeat.
If you perform a bow draw correctly, your board will turn towards your paddle.
To combine these two strokes start by doing a bow draw. Once the shaft of your paddle reaches your board, transition into a forward stroke. The effect should be your board turning towards your paddle (as a result of the bow draw), then moving forward (as a result of your forward stroke). Naturally your forward stroke will tend to turn your board away from your paddle. So the end result of combining a bow draw with a forward stroke should be your board going in a straight line. Here’s a video that may help with understanding the mechanics of this stroke:
The bow draw, forward stroke combination should be used on the side of the board that the wave is on. So if I’m paddling up a river right eddy and I’m paddling onto the surfer’s left side of the wave, I will paddle on the right side of my board. The benefit of keeping your paddle on the wave side is that you can use your bow draw to pull your board horizontally toward the wave as you cross the eddy line.
The paddle techniques I’ve described have the end goal of keeping your board going straight without compromising forward momentum. Fins can also help accomplish this. When you first start river surfing, my recommendation is to use the largest, flexible, center fin you can find. A center fin helps with tracking WAY more than side fins, and the bigger the fin the better it will track. Whenever you are paddling in rivers, it’s always a safer bet to use flexible fins to avoid damaging your board.
If you have trouble keeping your board going straight, practice in calmer water such as a lake. Try to avoid creating bad habits such as switching the side you paddle on while approaching the wave or dragging your paddle to make course corrections. Both of these habits will reduce your momentum and can cause instability.
Compared to traditional SUPs, river SUP surfing boards tend to be very difficult to paddle straight. Don’t be discouraged if it takes a lot of practice to get your paddling perfect. Also remember to paddle towards the wave using the most efficient path.
Click here to read Part 6: stances and footwork for surfing the wave.

